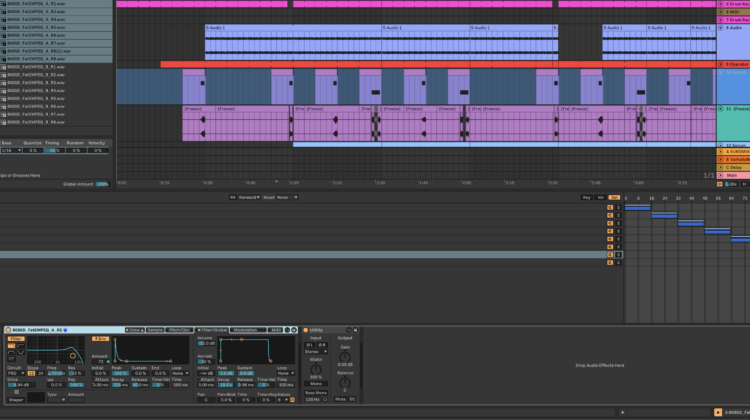
Ableton has multiple sampler devices as part of its core device library. As of Ableton 12.1, the Drum Sampler device has been added however in this post we’re going to talk about why Sampler can still be the most powerful instrument for snare rolls when using multiple snare samples to introduce variation to the snare roll.

Create a blank MIDI Track (Ctrl/Cmd+Shift+T) and add the Sampler device from Ableton to this new MIDI channel. The beauty of this technique relies on the Zone mapping and “Selector” within the Sampler device. Enable the Zone view by clicking “Zone” in the device, and then find a group of drum samples that are similar enough but evolve between each sample and drag those into the Zone.
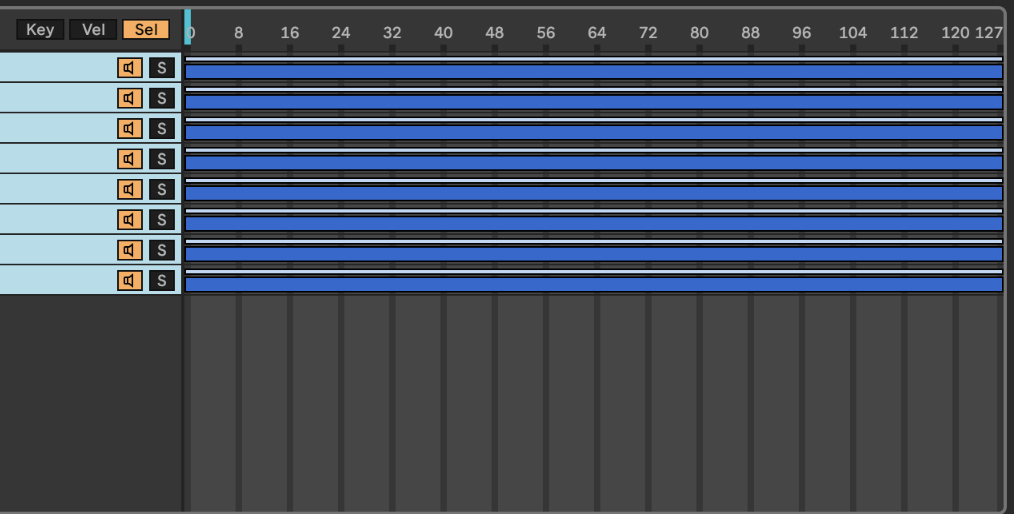
Once you have your snare samples loaded into the Sampler, click on the “Sel” tab.

Right click inside of the “Sel” window and click on “Distribute ranges equally”. You can group the Sampler into an Instrument Rack and map the blue vertical bar on the selector to a Macro knob, or you can right click the vertical blue bar and automate the parameter directly. As you move the slider around, a different sample will be triggered depending on where the slider is set.
In addition to automating the selector knob, automating the decay and sustain amounts of the Amplitude Envelope can allow for super tight samples opening into longer tails for the snares and can turn a boring snare roll into something epic and flavorful rather than stale and bland.
