If you’re reading this, then chances are you’re into music that fits a traditional fixed grid system, typically with 4×4 or broken beats, funky bass riffs, and other rhythmic fills. Typically in a 4/4 time signature, one bar of music is broken into four beats, and each of those four beats is broken down into 16th notes. If you were to lay down a note to be played on each 16th note within a beat of a bar, this would result in a constant robotic sound.
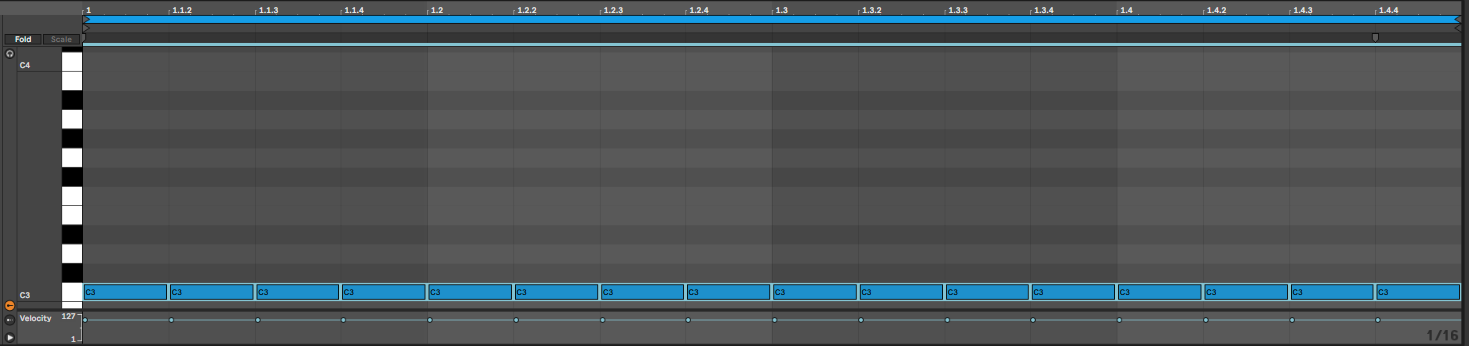
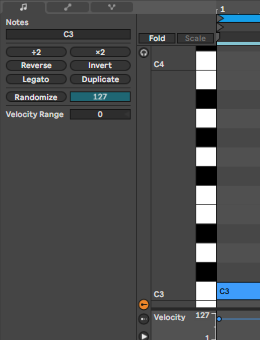
There are various tricks that you can do to help add some spice such as using the Velocity Randomize button found in the MIDI clip editor, or by choosing the velocity of each note on an individual basis, however we can do more, and this won’t involve shifting individual MIDI notes or delaying track’s audio by 10ms.
Get More Grooves
By default, Ableton 11 comes with 4 folders of grooves ranging from 8th note swings, 16th note swings, or 32th note swings, different styles of music’s swings, some old school drum machines and samplers as well. I however find that these grooves can really be overly dramatic, even when reducing the groove pool amount settings.
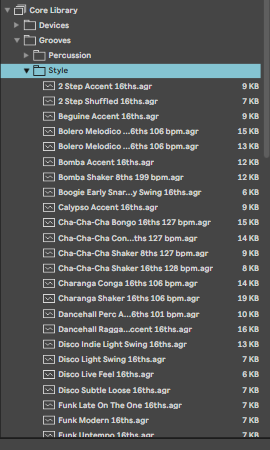
Samples from Mars, creators of meticulously sampled analog drum machines and other gear created the Grooves From Mars and is available as a free download through the link, that adds a plethora of different drum machine grooves to the already extensive library. To add these files to your Grooves list, download the file containing the grooves, and then extract this and move these files into your Ableton User Library Grooves folder.
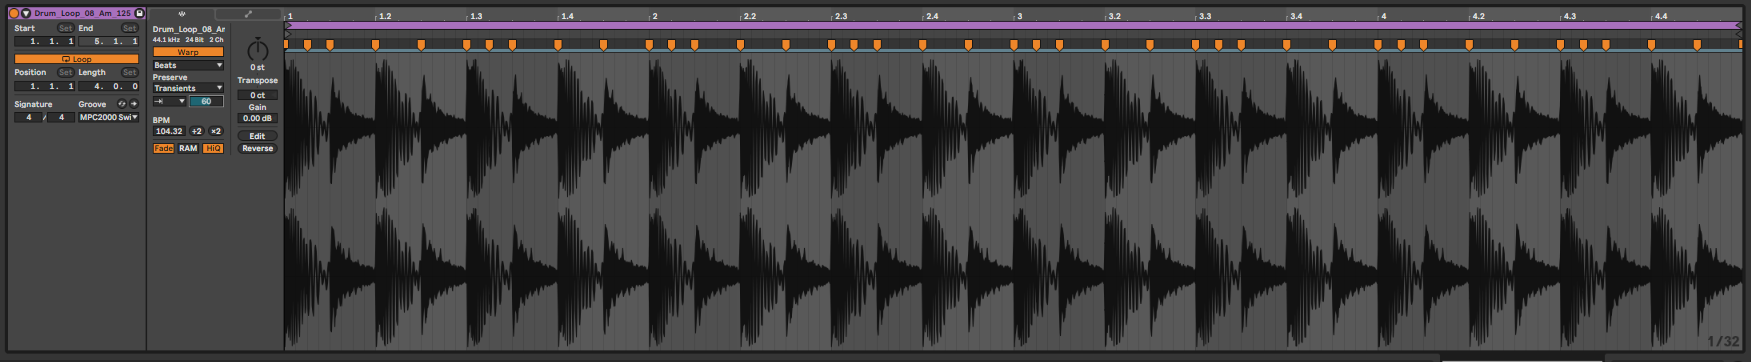
Applying A Groove to a MIDI or Audio Clip
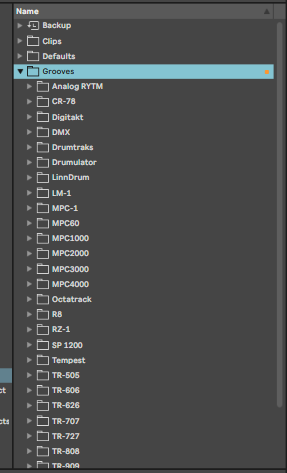
I frequently utilize the MPC, Analog Rytm, and SP-1200 folders from here and I personally feel they’re better than the stock Ableton grooves. Once the groove you want is located, drag it onto the currently playing clip, and on the clip menu under “Groove” switch the clip from “None” to the groove you loaded. You can load multiple grooves at once, or the same groove with differing groove amounts to dial in the amount to control the vibe.

Grooves aren’t just for MIDI clips, they also work on audio clips, or you can generate your own grooves by using the “Extract groove” feature on the right click menu of the audio clip. To apply a groove to an audio file like a drum loop to replace the groove, on the audio clip waveform section, use Cmd/Ctrl+A to highlight the entire clip and then Cmd/Ctrl+U to quantize the loop. Then on the clip menu choose the wanted groove. You can also set the Transient to just forward mode, and adjust the amount to shorten the transients of the loop to tighten things up and make it unique.
Consolidate + Quantize + Add Groove
If you’re like a majority of producers, you utilize audio or MIDI one shot sounds to build your rhythmic sections. Frequently these are placed on 1/8th, 16th, or 32nd note intervals in some cases. If you’re making a snare roll for example, but want it to have some swing to it but you used just a sample placed every 16th note, this will result in the same robotic type pattern that can be jarring or hard to move in flow with, especially if parts of your track have groove and others remain robotic and stagnant. Highlight the lane of individual hits, and use Cmd+J to consolidate these single hits into a beat or couple beat long phrase. Quantize the groove with Cmd+A and Cmd+U on the waveform section, and then choose the groove to apply, and possibly tweak the transient amount.
This should help improve your understanding and equip you with different ways to approach helping groove your tracks together on all the main elements. If you’ve enjoyed this post, we would appreciate a share with your Producer and DJ friends, Dsicords, and Mom.